 Itemlume
PRACTICAL ANSWER / Product images
Can I remove dust from a product photo without hiding the item’s condition?
Yes, when you separate temporary surface debris from the product’s actual condition. Keep the untouched original, record every edit, and compare the cleaned image with the item before publishing. Remove lint or loose dust only when it does not conceal a scratch, finish change, crack, repair, or other fact a buyer may need to assess.
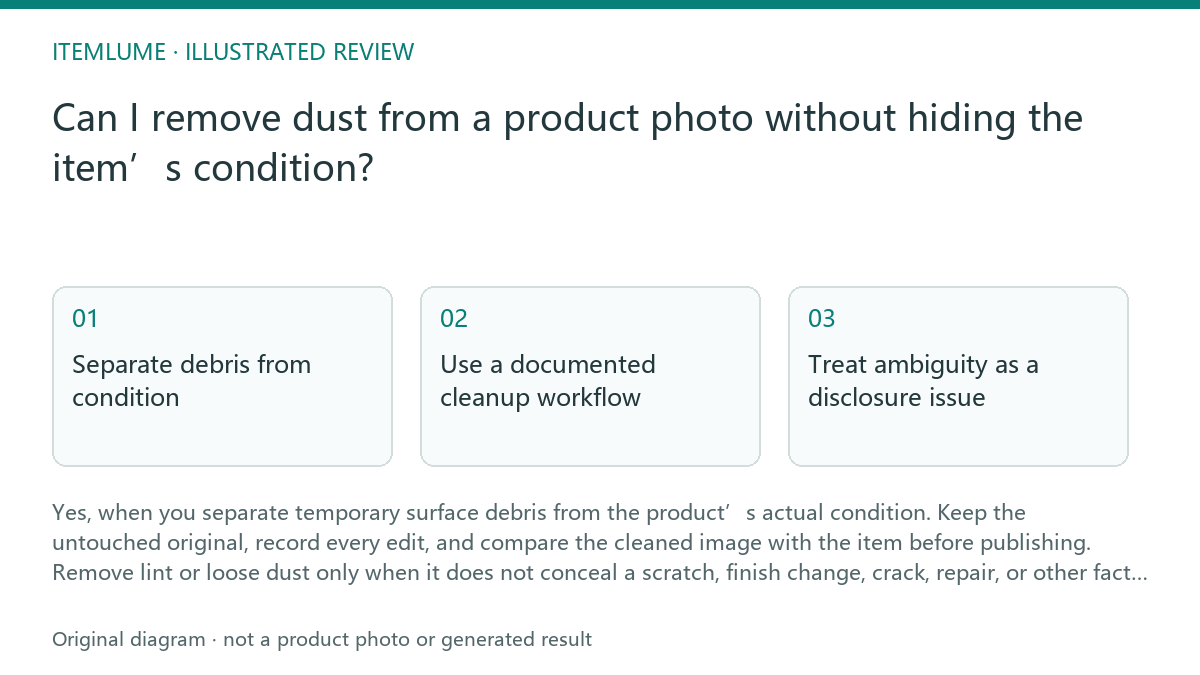
Separate debris from condition
Dust, lint and a loose hair can be introduced during handling or photography. They are usually temporary surface debris when they sit on top of the item, change position between frames, or disappear after careful physical cleaning. A removable mark should be checked on the real product before any image retouching is approved.
A stain that remains after suitable cleaning, a scratch in the finish, a dent, a worn coating, a repaired area, or a cracked part belongs to the product’s condition. Do not use dust removal to make these details less visible. For a new camera with removable lint, cleaning the image may be reasonable after the lint is removed from the camera. For a used camera with a permanent scratch, the scratch remains evidence and should stay visible.
Use a documented cleanup workflow
The following is user workflow advice, not a claim that an image tool can determine whether a mark is removable. First inspect the physical item under steady light. Then compare the original file with the proposed edited version at the same crop and scale. Keep the original filename, the edited filename, the date, and a short reason for each change.
A practical record might say: “Removed loose lint after physical cleaning; no change to casing, lens ring, screen, or scratch.” If a cleanup tool touches an uncertain area, reject the edit and photograph that area again. Itemlume planning is available free after sign-in, while image and video media are quoted separately; planning does not establish product condition or prove that an edited image is accurate.
- Inspect the item and mark each visible spot as temporary debris, cleanable residue, or product condition.
- Clean the real item using the appropriate safe method, then photograph the same view again.
- Compare original and edited files side by side at 100% view, including edges, labels, seams, ports, and reflective surfaces.
- Approve only changes that remove confirmed temporary debris without reducing condition evidence.
Treat ambiguity as a disclosure issue
Some marks are difficult to classify from a photograph. A dark speck may be dust, a chipped coating, or a sensor artifact. A pale streak on a glossy body may be a reflection or a scratch. Do not infer the answer from an attractive result. Inspect the item, change the lighting or angle, and capture a supporting detail photo when the distinction matters.
For used or refurbished goods, the condition image should remain authoritative for what is actually present. A generated scene or cleaned presentation image can support browsing, but it must not replace evidence of wear. Do not use an edited image to imply fit, performance, completeness, or a manufacturing specification that the photograph does not establish.
Set a release boundary
A photo is ready when a buyer can still identify the item and evaluate relevant condition details after cleanup. Keep separate files for the original, the minimally cleaned version, and any presentation image. Link the edit record to the product or listing so a later reviewer can reconstruct what changed.
Stop the process when the editor cannot tell whether a mark is temporary, when a tool alters a boundary or printed detail, or when the cleaned image looks materially better than the physical item. At that point, take a new real photograph or disclose the uncertainty. A polished image is not a reason to remove evidence.
Condition-preservation review
| Observation | Next check | Pass condition |
|---|---|---|
| Loose lint on a new camera’s top plate | Remove the lint from the physical camera and compare the original and cleaned files | Lint is gone, while buttons, finish, edges and printed markings are unchanged |
| Permanent scratch on a used camera body | Inspect under steady light and compare with a close detail photo | Scratch remains visible and is not softened, painted over or cropped out |
| Dark spot whose source is uncertain | Change angle and lighting, then inspect the physical item | Spot is classified before editing; unresolved uncertainty is disclosed or re-photographed |
| Retouching crosses a lens ring or label | Review the original at the same crop and inspect the physical boundary | No edge, text, control or serial detail has been changed |
Sources and further reading
Sources for this page were checked on . Platform rules can change; verify the current source before publishing. Prompt examples and workflow recommendations are Itemlume editorial guidance, not independently measured results.
Frequently asked questions
Can I remove dust from a used product photo?
Only when it is confirmed temporary debris and the cleanup does not hide wear, damage, repairs or other condition evidence. Preserve the original and record the change.
Should I clean the real product before editing the image?
Yes. Physical inspection and suitable cleaning help distinguish removable debris from a stain, scratch or damaged finish. Re-photograph the item when classification remains uncertain.
Can an edited image prove that the product is in good condition?
No. An edited image can present the item more clearly, but it does not prove fit, performance or overall condition. The actual product and retained evidence remain authoritative.
BUILD FROM A PRODUCT YOU KNOW
Put this workflow into practice with your own product.
Explore the relevant tool first. AI copy and concept planning are free after sign-in. Image and video generation require available credits and the applicable account access.
Open Product images Check pricing and credits