 Itemlume
PRACTICAL ANSWER / Logo studio
Are the gray pixels around my black logo a design error?
Usually, no. Antialiasing smooths a raster logo by giving boundary pixels partial coverage. A black edge can therefore appear gray against white even when its stored color is black. Judge the file at its intended display size and on different backgrounds before deciding whether the artwork or export needs repair.
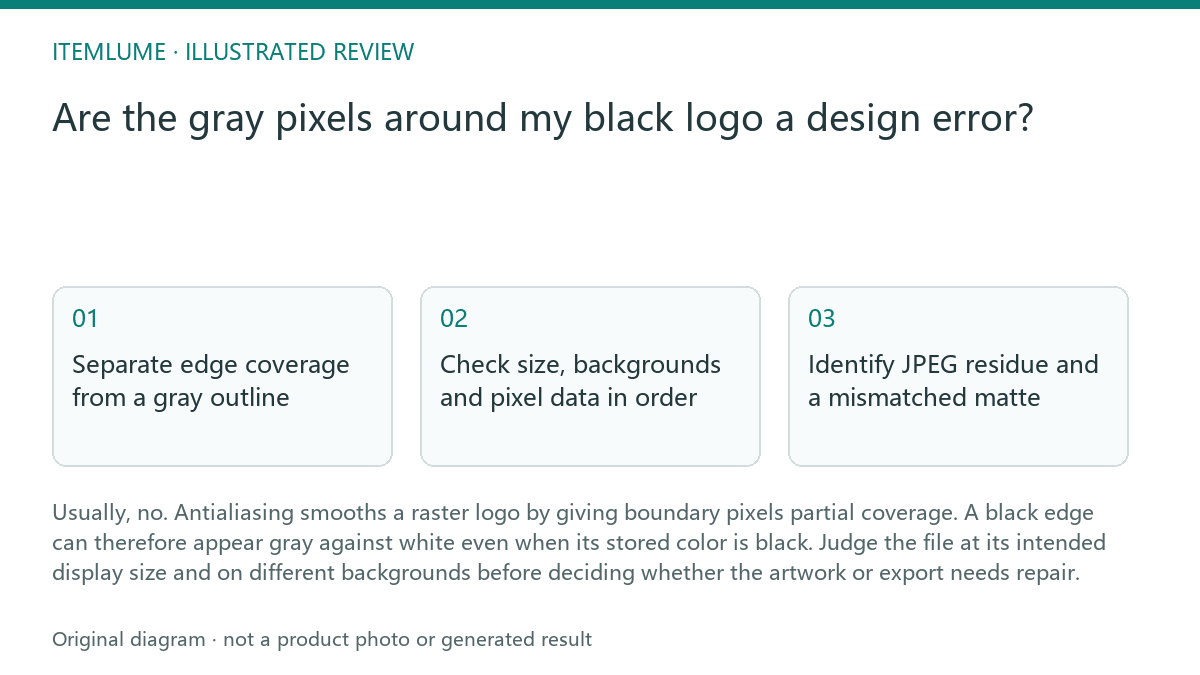
Separate edge coverage from a gray outline
A raster image represents a curved or diagonal boundary with square pixels. Antialiasing softens that staircase through intermediate coverage. In a transparent PNG, the boundary may contain black RGB values with partial alpha; compositing those pixels over white produces visible gray. That is expected rendering, not automatically a gray stroke.
Actual gray RGB values need a different interpretation. They may be intentional shading, pixels flattened against a background, or residue from an earlier export. Inspect color and alpha together: a visible gray pixel alone cannot tell you which process created it. Enlargement reveals pixel structure but does not establish a defect.
Check size, backgrounds and pixel data in order
Start with the original export rather than a screenshot, messaging preview or downloaded thumbnail. Those copies may have been resized or recompressed. Use an editor that exposes alpha and RGB values, and make sure its pixel inspector reports source values rather than only the color composited over the preview background.
Follow the sequence below. A clean result has edge transitions that follow the contour without a separate pale rim. If softness appears only after resizing, investigate the scaling step before editing the logo. Repeatedly sharpening the file can introduce ringing and damage small gaps.
- Open the original file at 100% zoom, then view it at the intended display size; note whether the application applies scaling.
- Preview the same file over white, a dark background and a saturated color; watch for a pale fringe that persists across backgrounds.
- Inspect RGB and alpha at an interior pixel, a boundary pixel and an exterior pixel; distinguish partial black coverage from pale stored color.
- Compare with a fresh export from the clean source at the required dimensions; check whether the fringe or block artifacts disappear.
Identify JPEG residue and a mismatched matte
JPEG compression can introduce mottled pixels, block patterns and ringing near a high-contrast logo boundary. Saving that image as PNG preserves those existing artifacts. It does not restore the clean edge. When a clean source is available, export directly from it instead of tracing the contaminated boundary or erasing pixels individually.
A pale matte creates a different symptom: edge colors were blended toward a light background before transparency was applied or exported. On dark backgrounds, those colors can reveal a light halo. Re-export with transparency from the clean source and without a light matte. Keep legitimate partial alpha; converting every boundary pixel to fully opaque black makes curves jagged.
Work through an approval exercise and stop
Fictional exercise: a 64 × 64 pixel black icon looks gray at its curved edge on white. Inspection finds a boundary pixel with RGB (0, 0, 0) and alpha 128 out of 255. It appears approximately mid-gray over white and blends toward the dark background when switched. This is partial coverage, so retain it.
In the same fictional exercise, another export has pale RGB values along the boundary and a visible light rim on dark blue. Reject that export and recreate it from the clean source. Stop when the intended-size preview preserves the contour and gaps, background changes reveal no unwanted halo, and the pixel checks explain the remaining softness. These are user review steps, not a claim of automated product validation.
Pass/fail review for gray raster-logo edges
| Observation | Next check | Pass condition |
|---|---|---|
| Gray edge on white | Inspect source RGB and alpha | Pass: partial black coverage explains the gray. Fail: unexplained pale pixels form a rim. |
| Light fringe on dark backgrounds | Compare a transparent export from the clean source | Pass: no unwanted pale halo. Fail: light matte residue remains. |
| Mottling or blocks beside the contour | Check whether the image passed through JPEG | Pass: clean-source export removes artifacts. Fail: contaminated pixels persist. |
| Softness appears after resizing | Compare original and intended-size rendering | Pass: contour and gaps remain clear. Fail: scaling blurs or closes details. |
Sources and further reading
Sources for this page were checked on . Platform rules can change; verify the current source before publishing. Prompt examples and workflow recommendations are Itemlume editorial guidance, not independently measured results.
Frequently asked questions
Should I remove every partly transparent pixel?
No. Partial alpha helps represent smooth curves. Removing it can turn a clean contour into a staircase.
Does the PNG extension guarantee clean edges?
No. PNG can preserve artifacts inherited from JPEG or an earlier flattened image. Check the source history.
Is a white box the same problem as a pale edge?
No. A white box concerns the surrounding canvas; a pale edge concerns boundary pixels. For a rectangular background, use the separate transparent-PNG white-box guide.
BUILD FROM A PRODUCT YOU KNOW
Put this workflow into practice with your own product.
Explore the relevant tool first. AI copy and concept planning are free after sign-in. Image and video generation require available credits and the applicable account access.
Open Logo studio Check pricing and credits